> For the complete documentation index, see [llms.txt](https://docs.saros.xyz/llms.txt). Markdown versions of documentation pages are available by appending `.md` to page URLs; this page is available as [Markdown](https://docs.saros.xyz/saros-dlmm/user-guides/swap.md).
# How to Swap on Saros DLMM
This guide will walk you through the process of performing a token swap on the Saros DLMM. This step-by-step guide will help you navigate the swap process seamlessly.
### Set up Solana Wallet
At the moment, you can connect to Saros DLMM using Coin98 Super Wallet.
You need to download and set up a Multichain or Solana wallet to use Swap feature
Kindly refer to this [guide on download and set up Coin98 Super Wallet](https://docs.coin98.com/products/coin98-super-wallet/extension/getting-started/how-to-create-or-import-a-multichain-wallet)
#### **Gas fee and SPL standard**
It should be noted that Saros DLMM is on the Solana **network**, which means that you can only swap tokens in SPL standard. **Saros DLMM** uses **SOL (SPL standard)** as transaction fees. Therefore, you should prepare SOL before any swaps on Saros.
\--> Everything is ready, let’s start.
## How to swap
**Step 1:** Access the Saros DLMM Swap via
**Step 2:** Click on **Connect Wallet** at the top right corner and choose your wallet (Coin98) and proceed to connect.

**Step 3:** Select the token you want to trade from the list and enter the amount you want to swap
This example will show the SOL/SAROS pair.

You can access the **Settings** on the top right corner to adjust the slippage and turn on/off safe mode.
{% hint style="info" %}
***Note:***
* *Slippage and Fees: Saros DLMM uses a bin-based system to minimize slippage. However, if the swap crosses multiple bins, the price may adjust slightly. Protocol fees (e.g., 0.3%) are collected and distributed to liquidity providers*
* ***Notice:** Swaps with a price impact greater than 5% are restricted while **Safe Mode** is enabled. To proceed, please disable **Safe Mode** in the **Settings**. Disabling Safe Mode allows high-impact trades, which may result in losses — proceed at your own risk.*
{% endhint %}
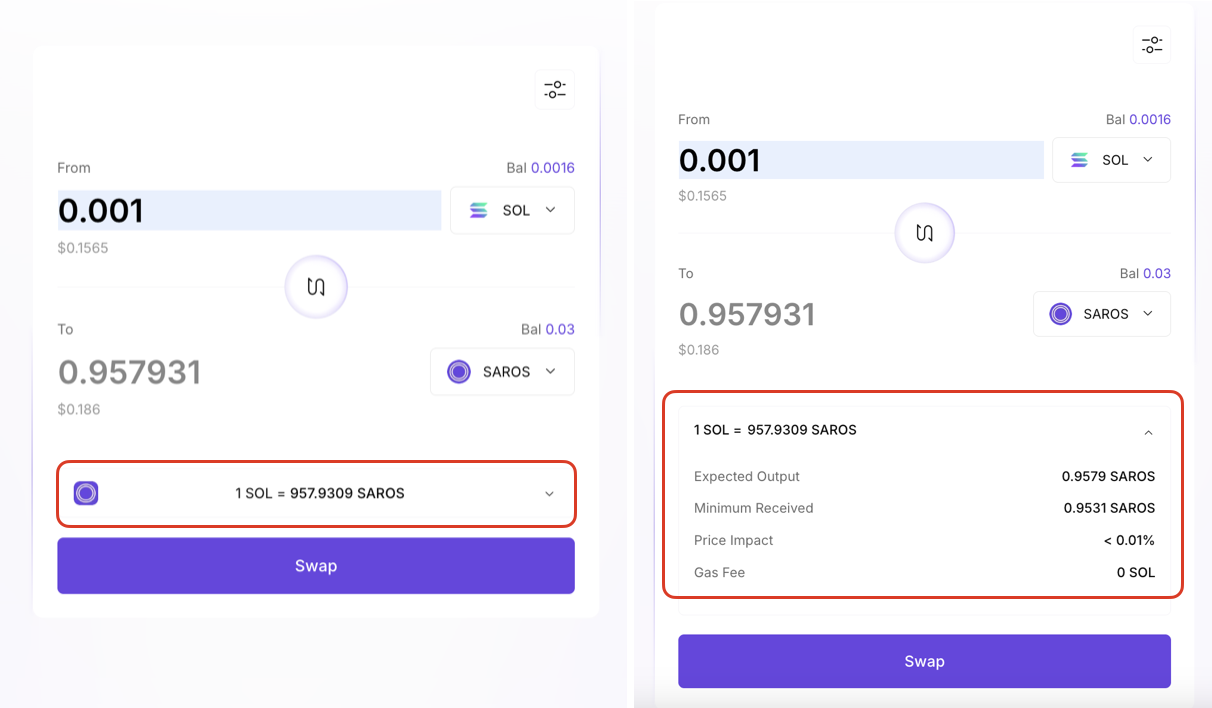
**Step 4:** Review Swap details
Check the amount of token you will receive and the exchange rate displayed below to ensure it meets your expectations
{% hint style="info" %}
N**ote:** Make sure you have enough SOL left for the gas fee
{% endhint %}
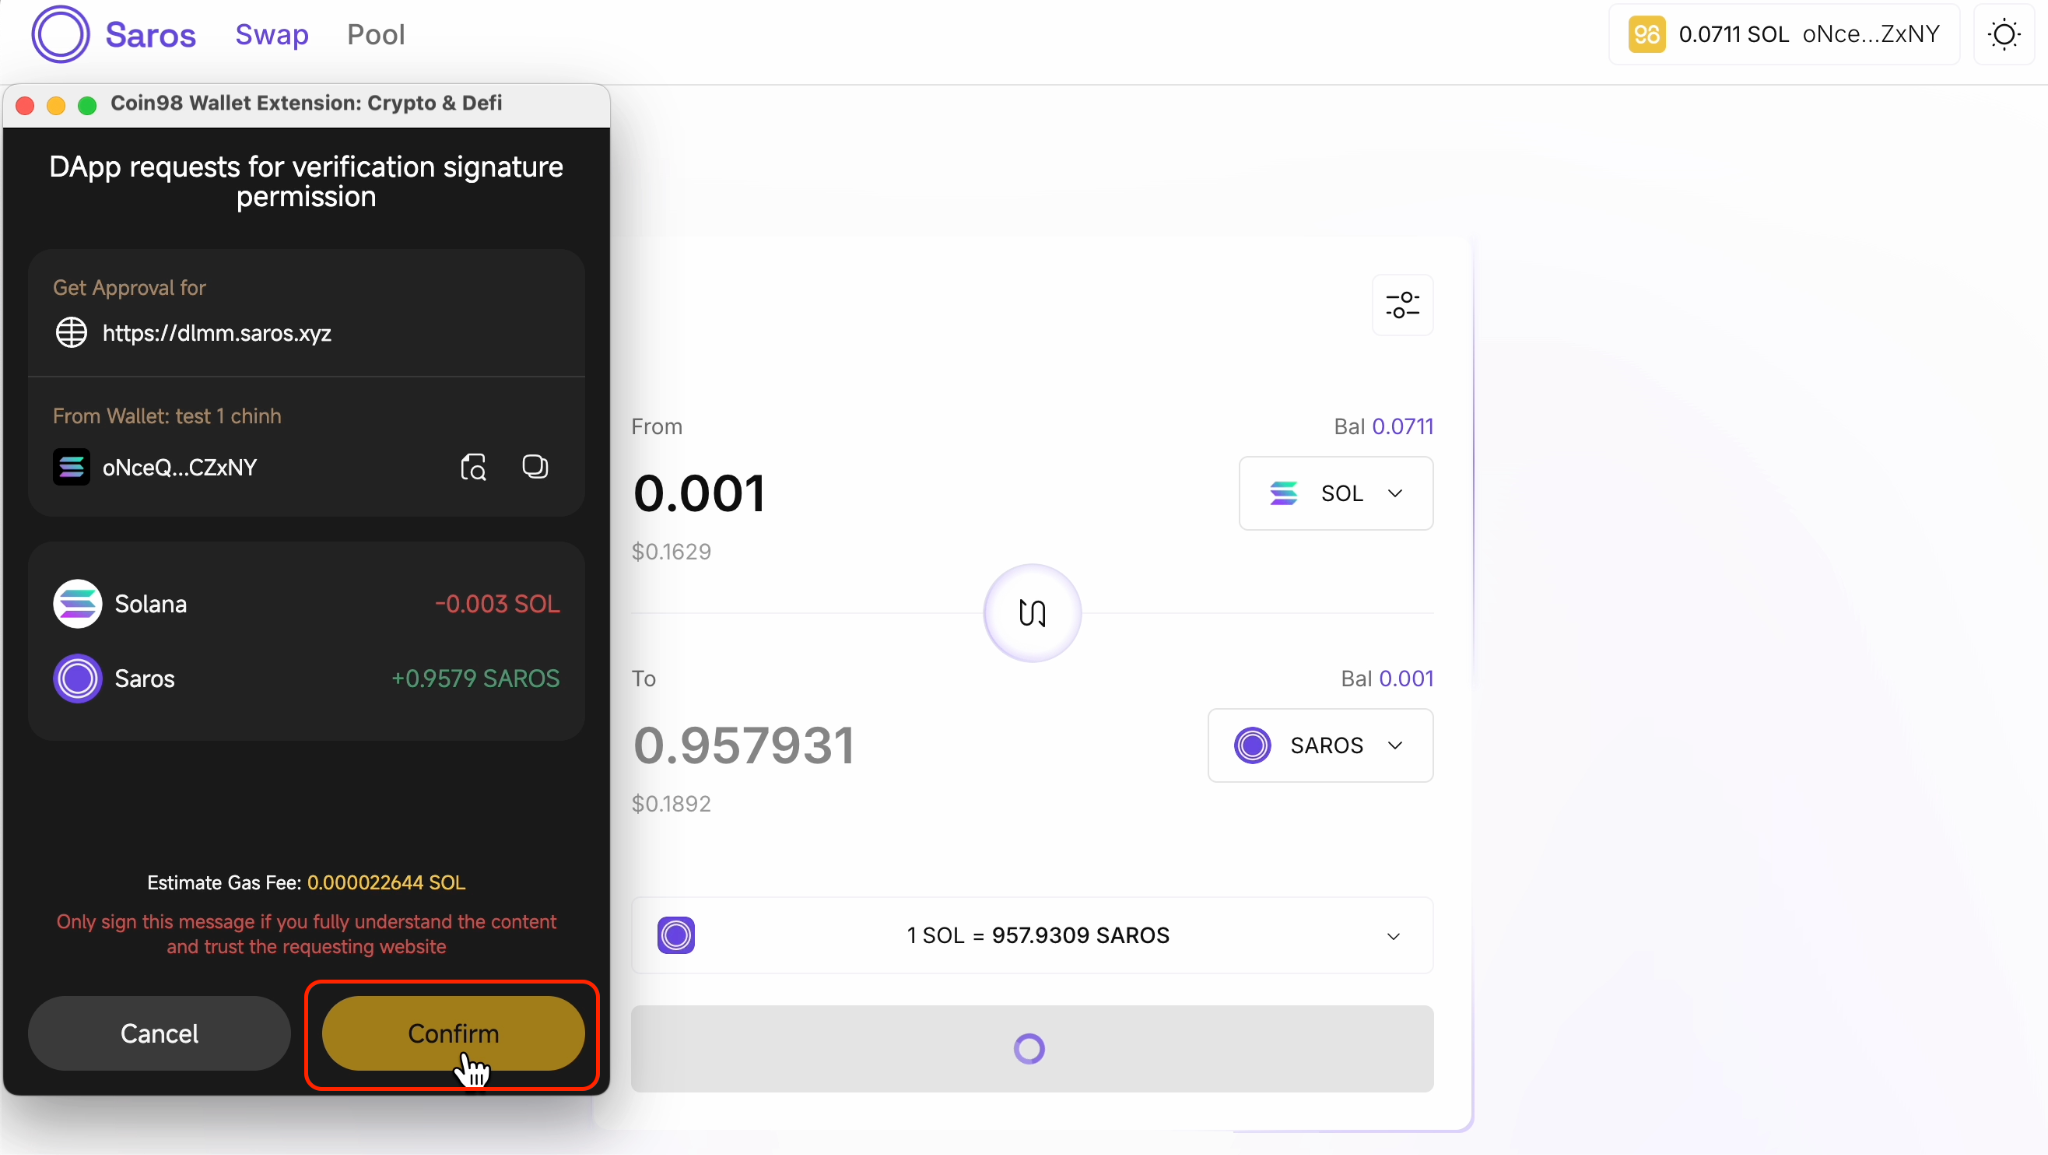
**Step 5:** Click the **Swap** button and confirm the verification signature request.

{% hint style="info" %}
**Note**: Make sure to review the information and ensure you trust the website before confirming.
{% endhint %}
Once confirmed, the transaction will be executed on the blockchain and when it completes, your tokens will appear in your wallet. You can view the transaction details on the blockchain explorer [Solscan](https://solscan.io/).