> For the complete documentation index, see [llms.txt](https://docs.saros.xyz/llms.txt). Markdown versions of documentation pages are available by appending `.md` to page URLs; this page is available as [Markdown](https://docs.saros.xyz/saros-mobile-app/mobile-app/how-to-log-in-to-social-account.md).
# How to log in to Social Account
Before you get started, please ensure you have an active social media account (e.g., Facebook, Google, Apple) that you intend to use to log in.
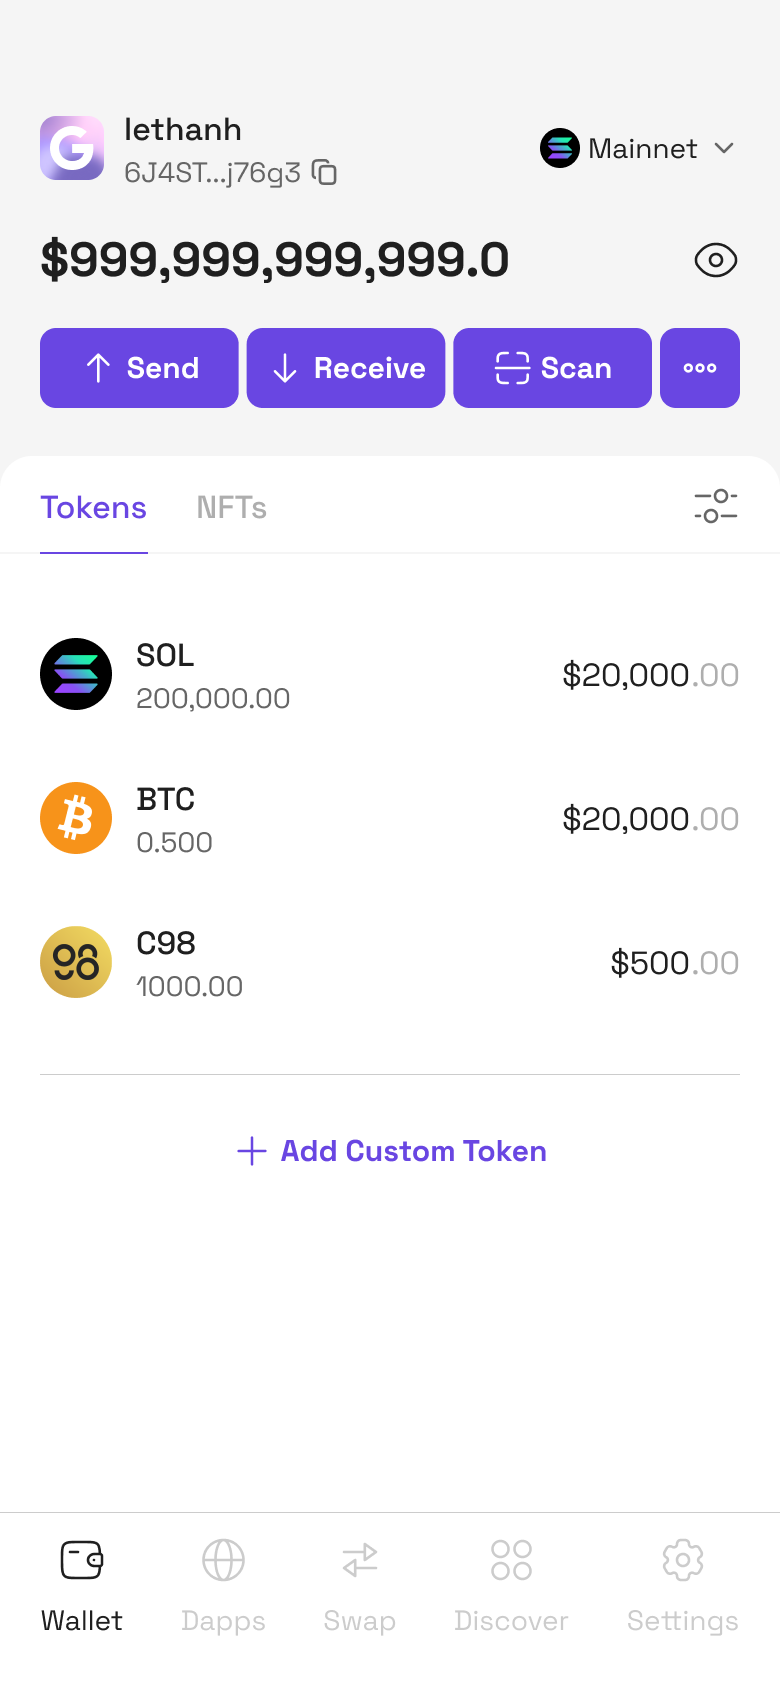
**Step 1**: Access to Saros Super App
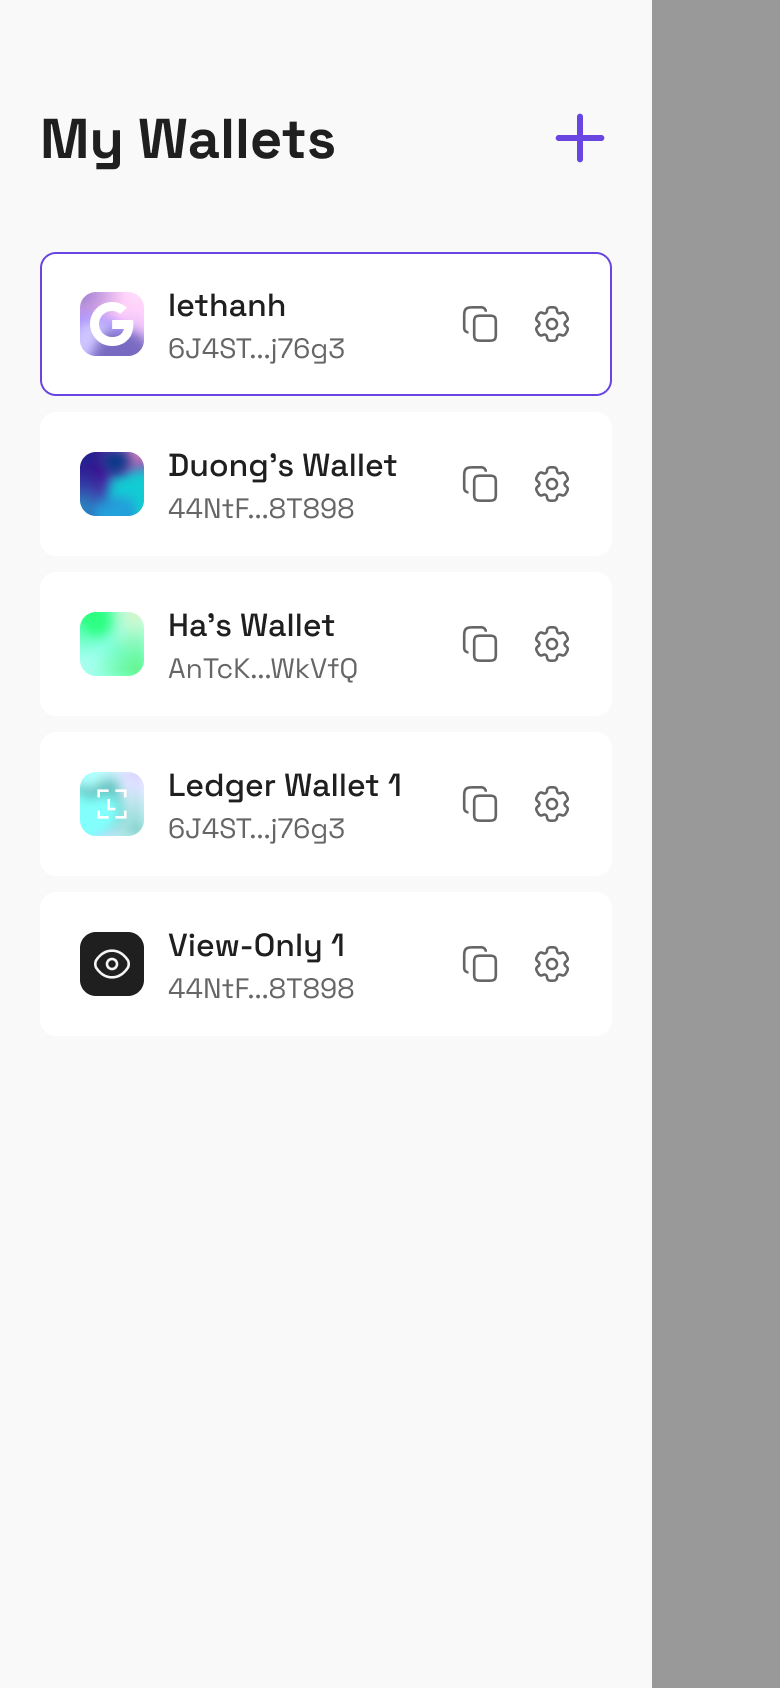
**Step 2**: Click Wallet section at the top left corner, then Click **+** Icon on the top right corner
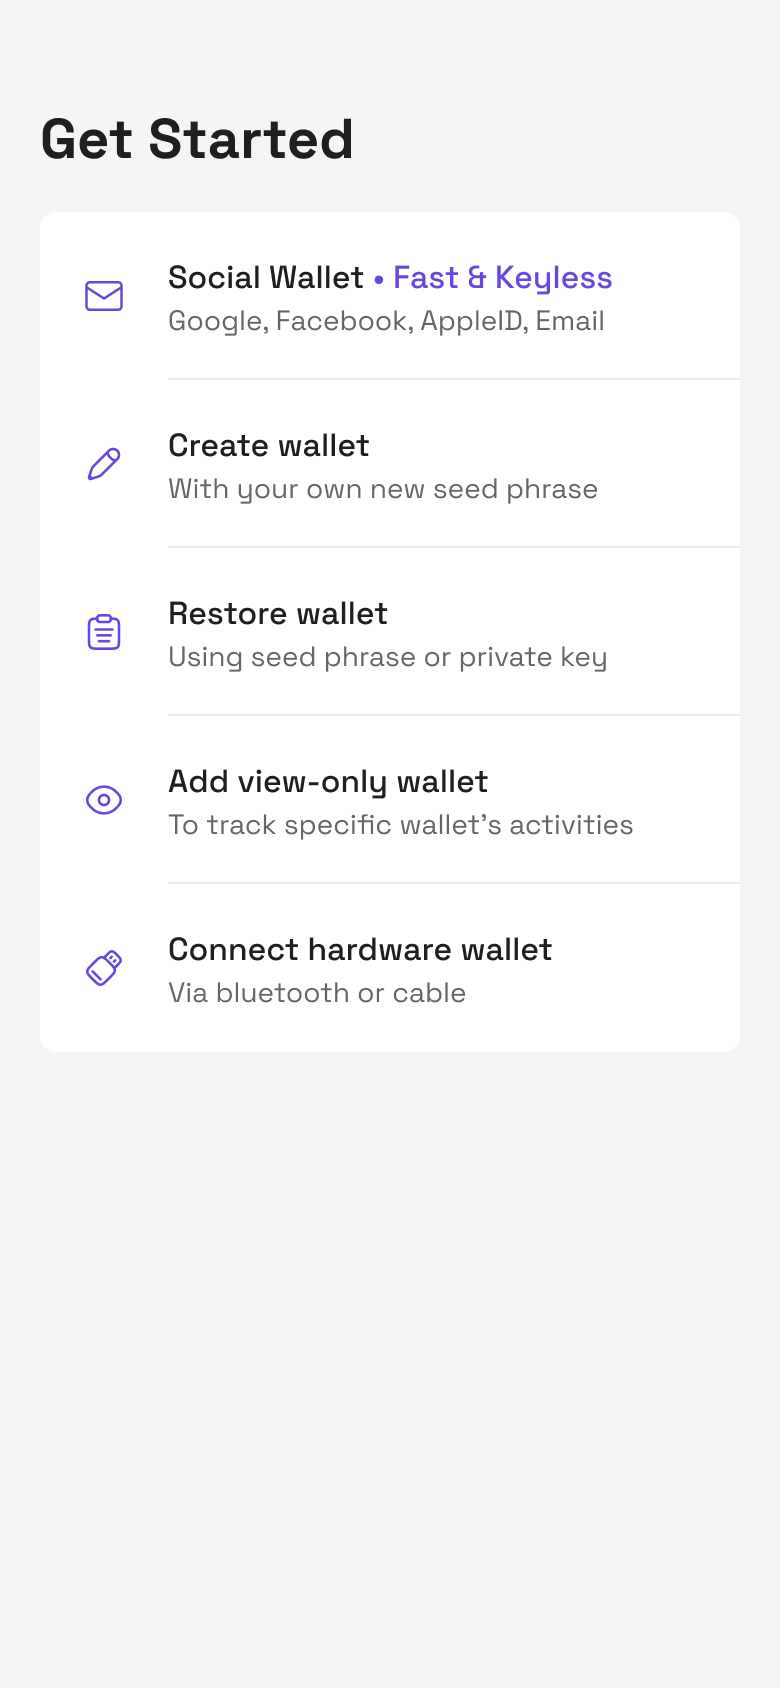
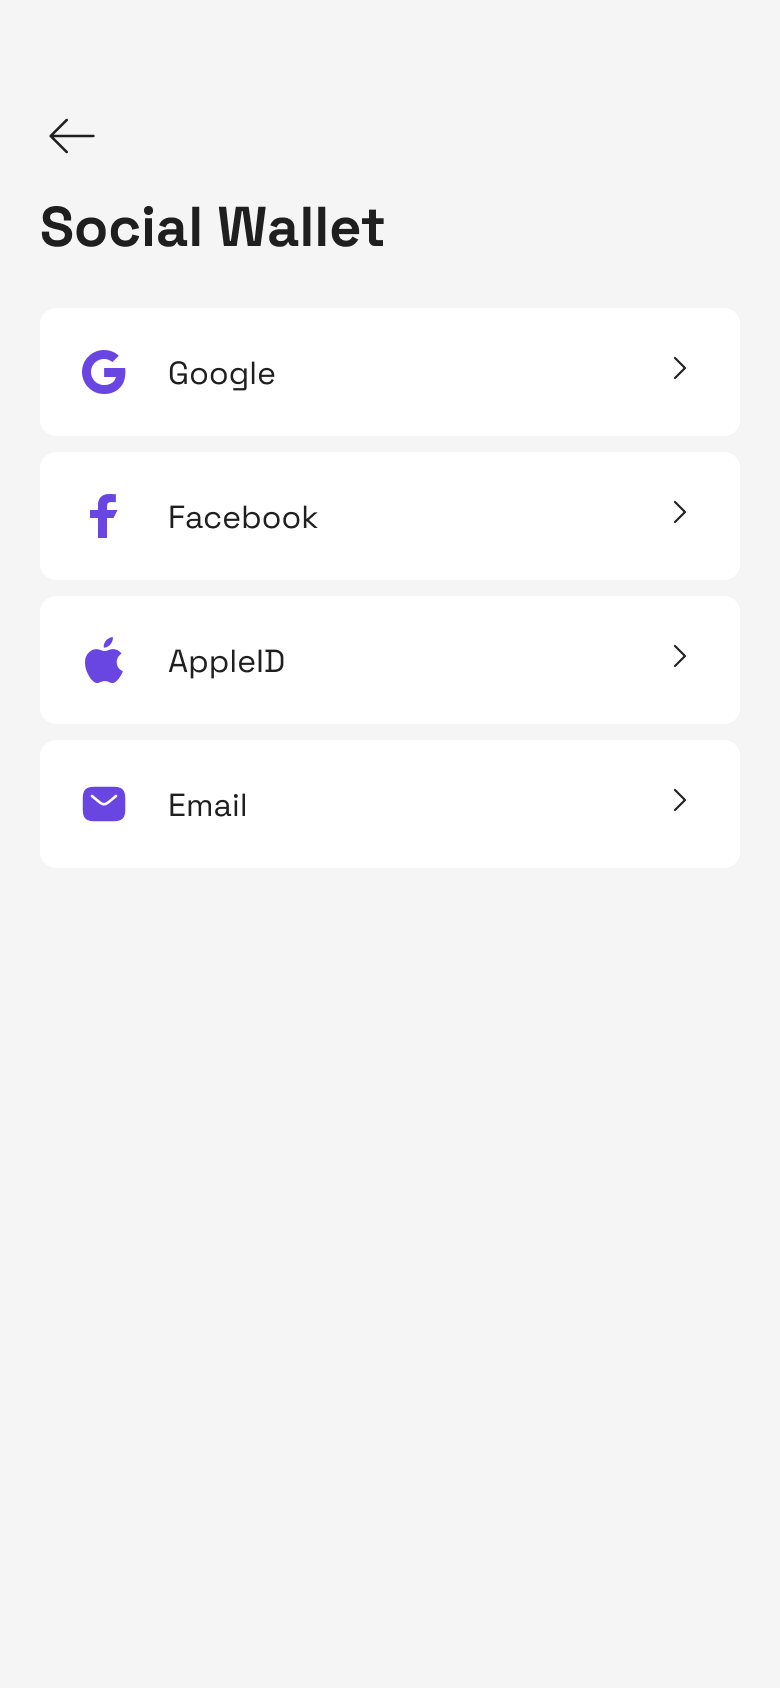
**Step 3**: Select Social Wallet section, then it will switch to the screen showing all supported platforms
* If user selects Facebook or AppleID, proceed to **Step 4**
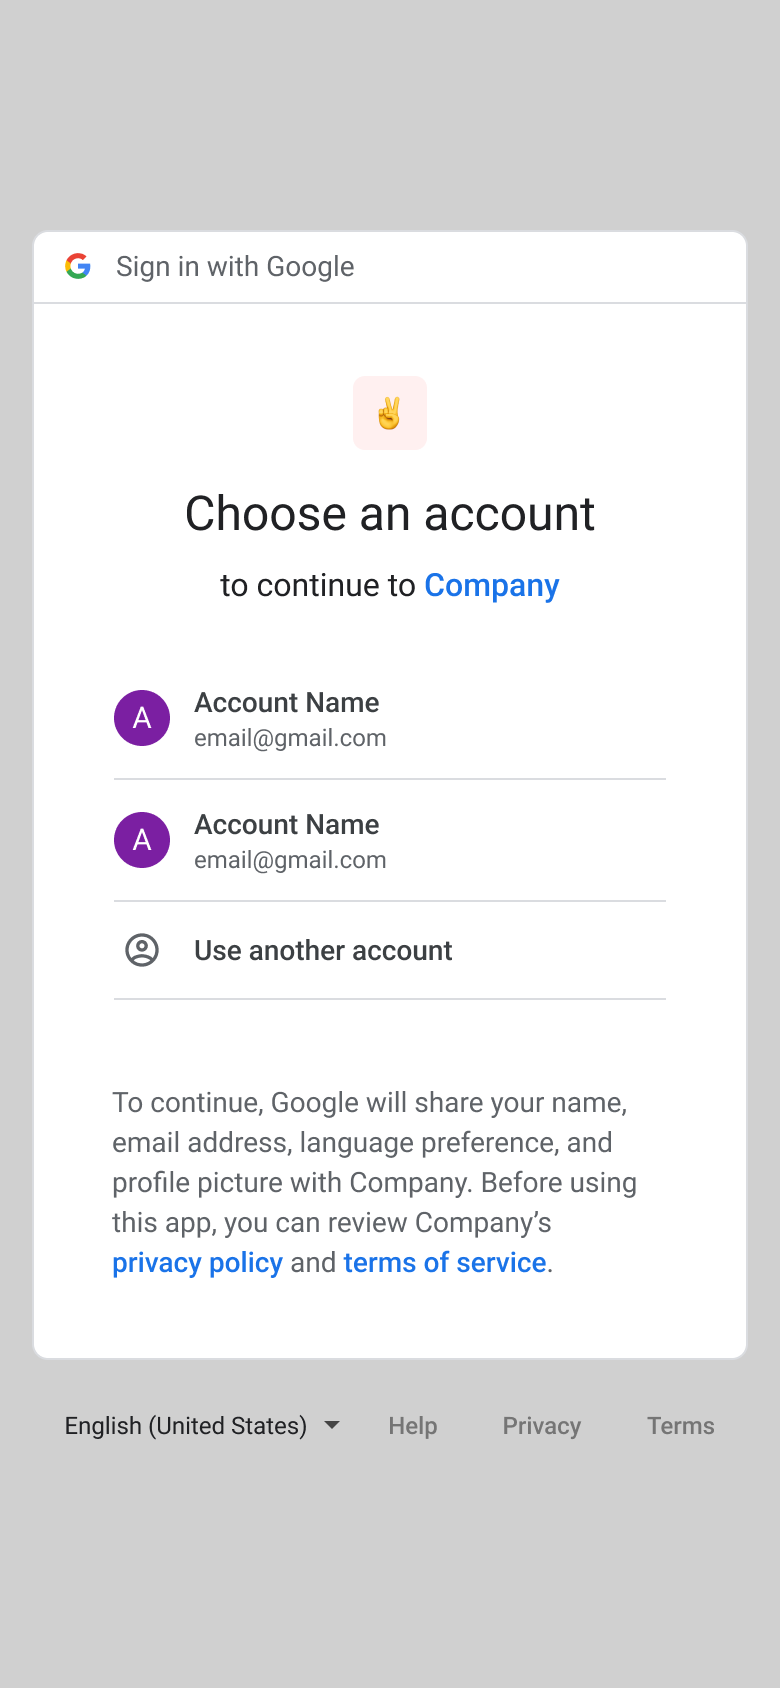
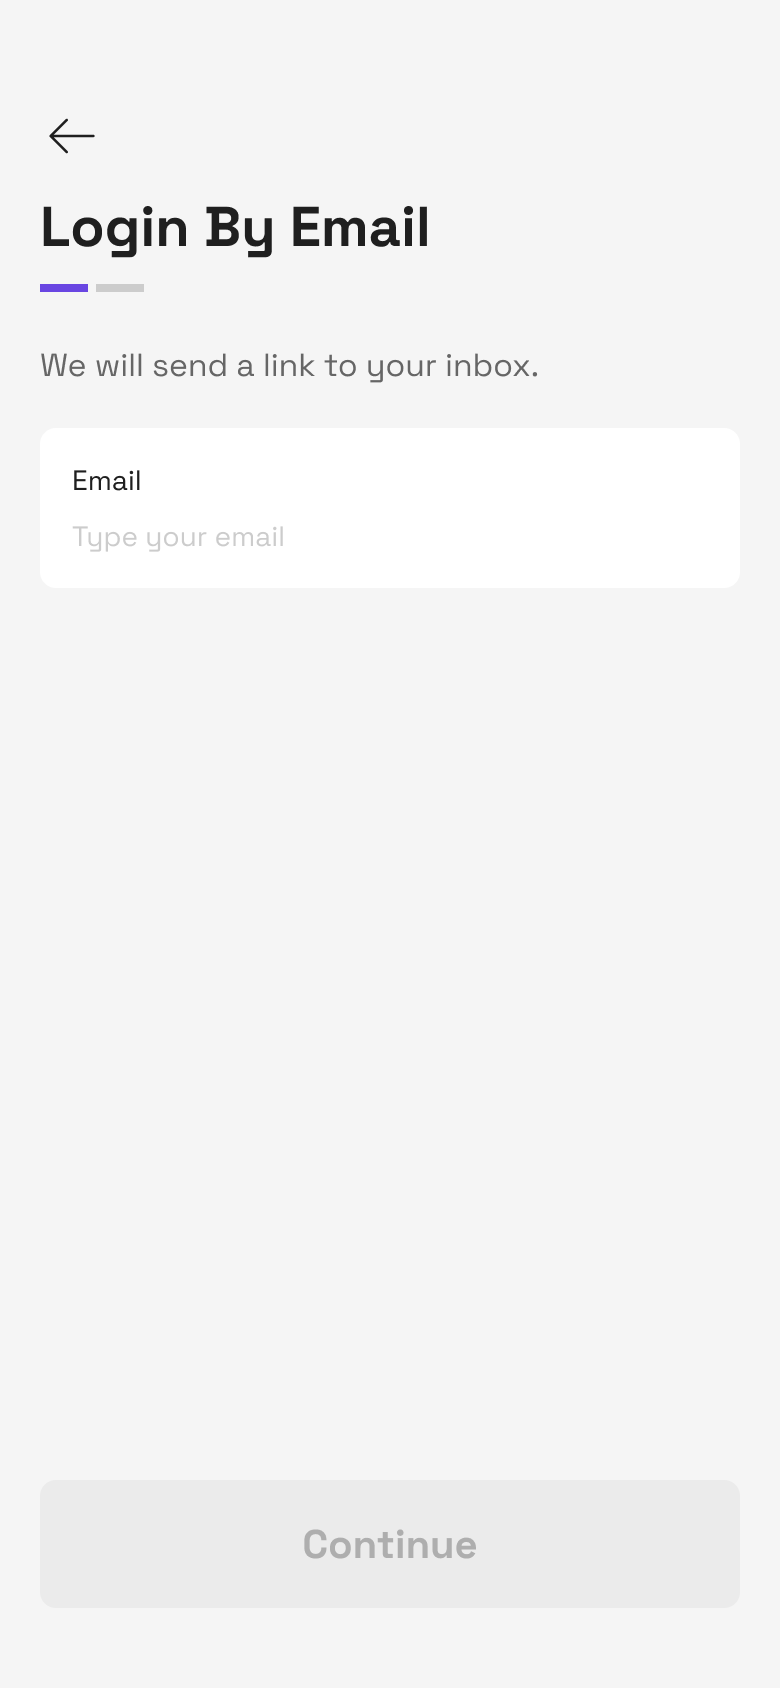
* If user selects Google, Email, proceed to **Step 5**
**Step 4**: Choosing the Social Platform
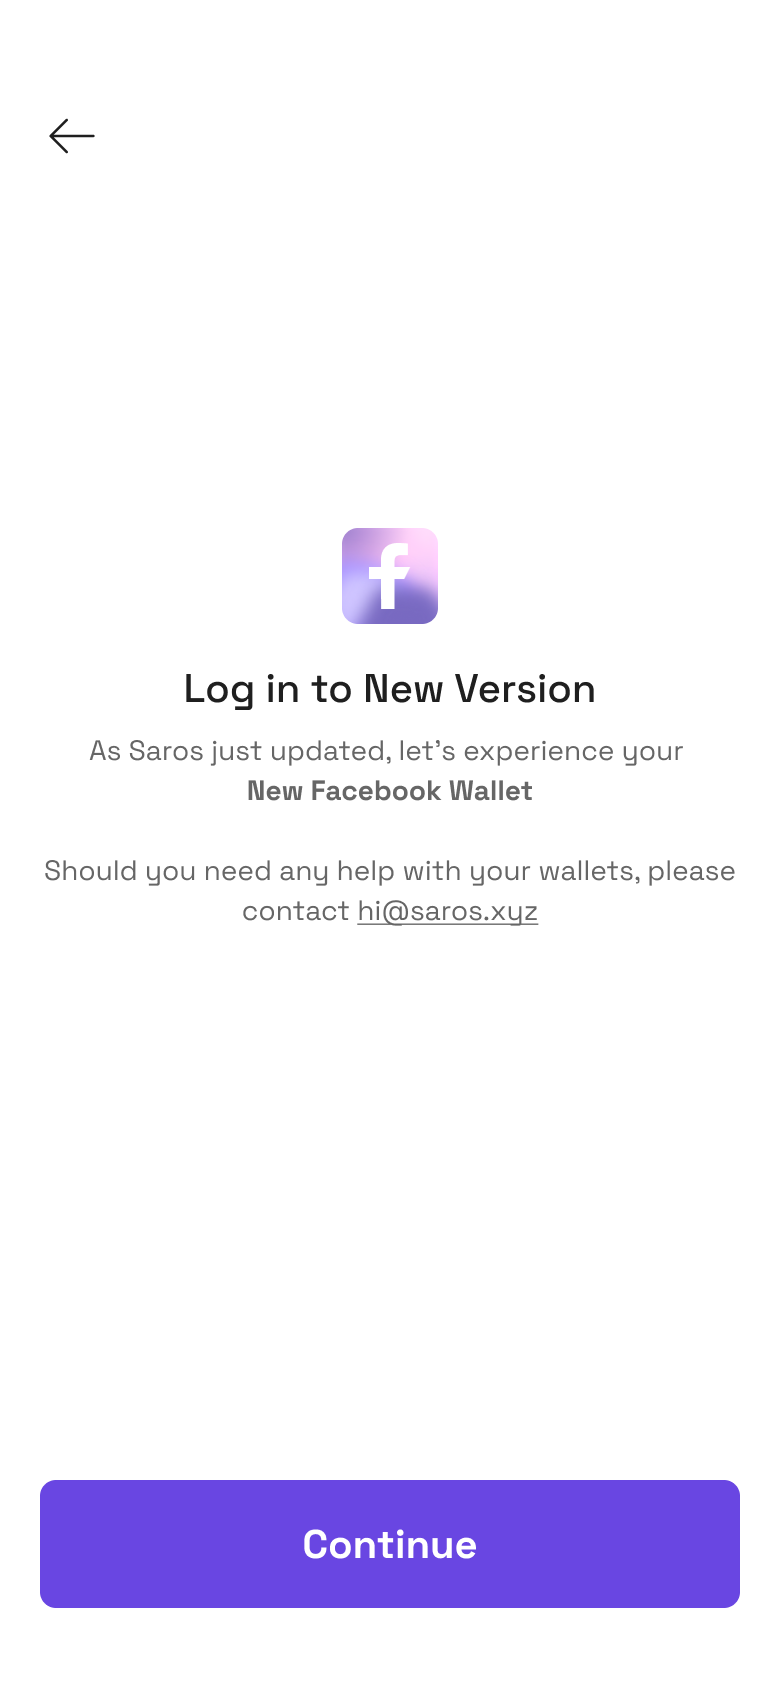
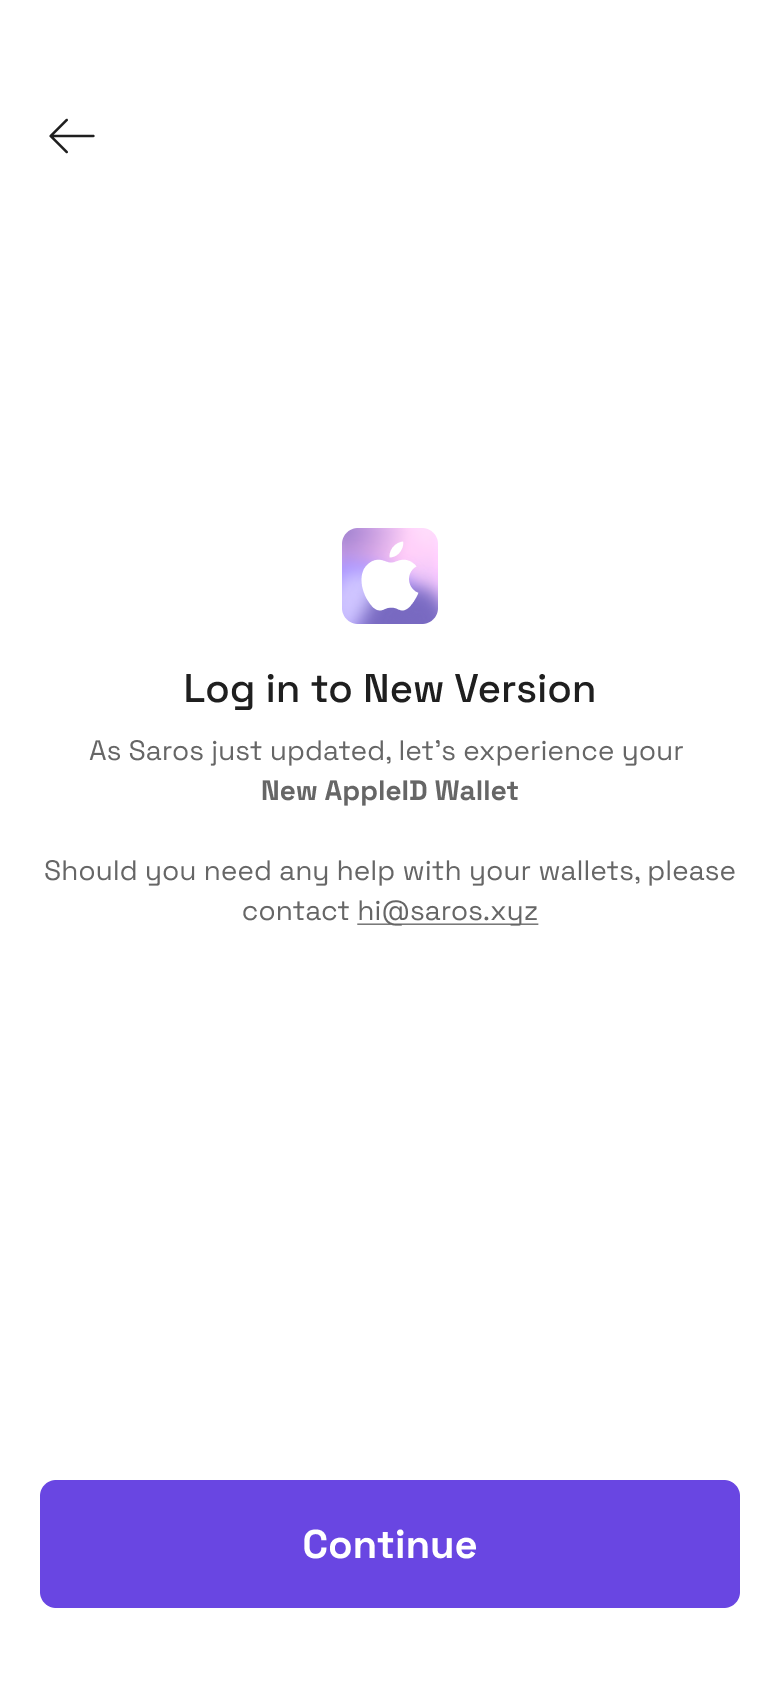
* With **AppleID, Facebook** after selecting a social media platform, you will see an introduction screen
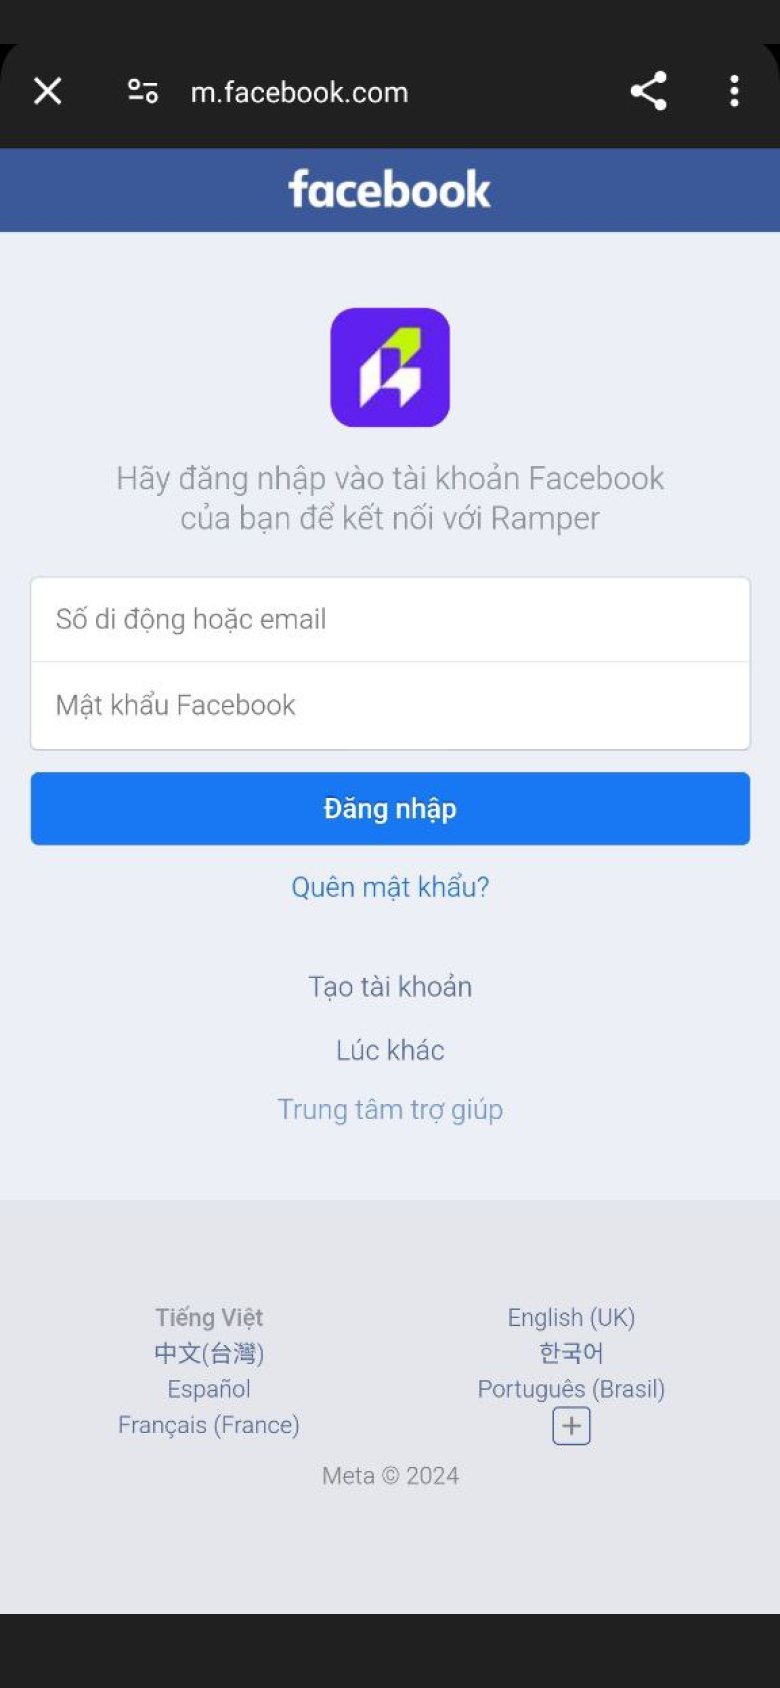
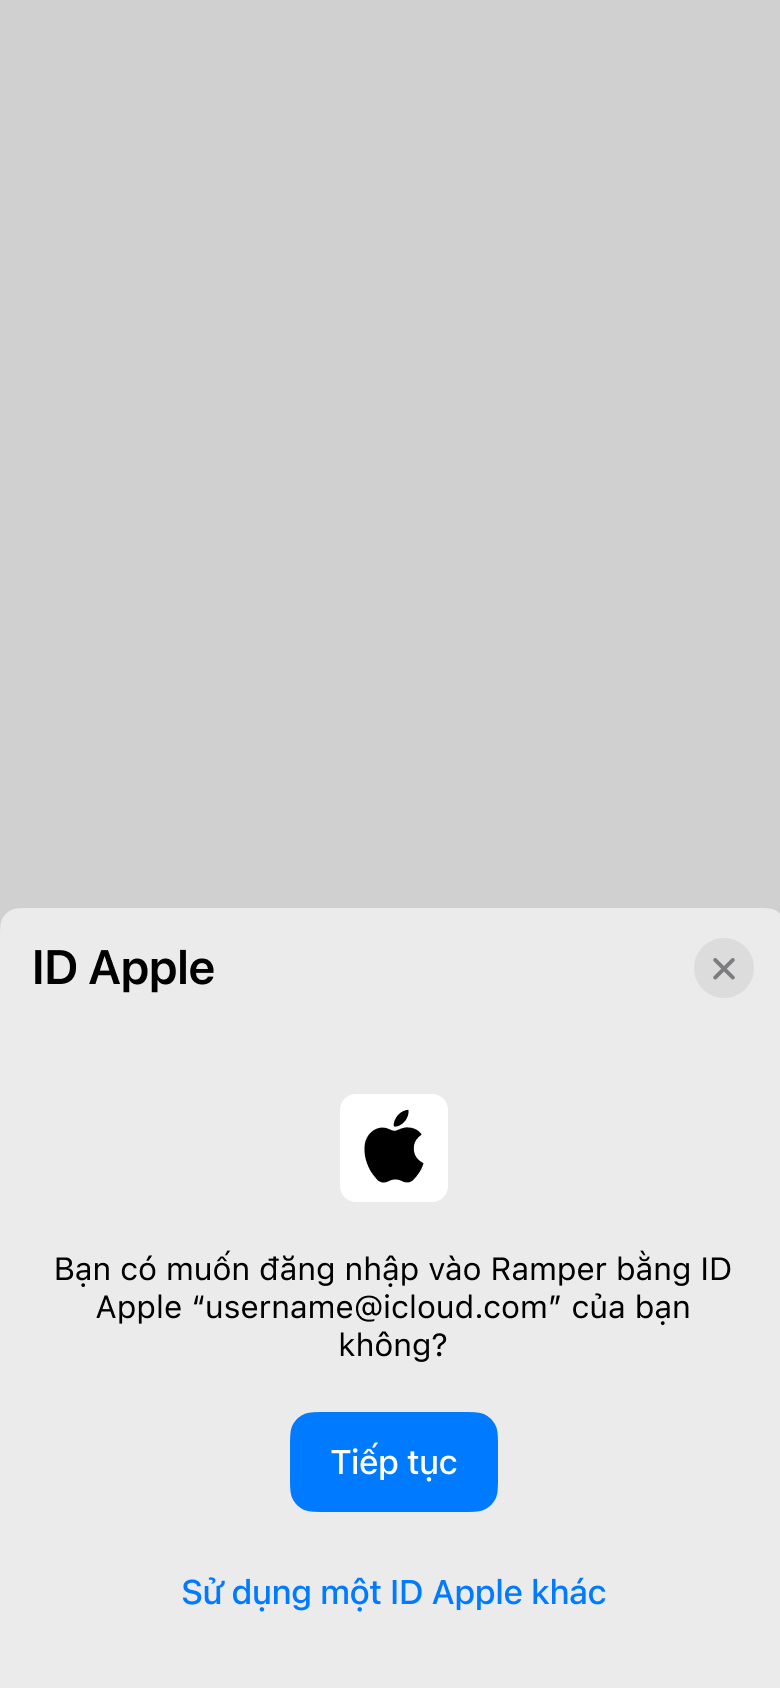
* Click **Continue** button to enable authentication depending on each platform (eg Facebook or AppleID)
**Step 5**: Authorizing Access
* **With Google**, you will be redirected to the login page of the selected social media platform.
* **With Email**, you will see the "**Login with Email**" screen to enter your email, and the Saros system will send a verification email to your email inbox. Please confirm to continue the process
Step **6**:
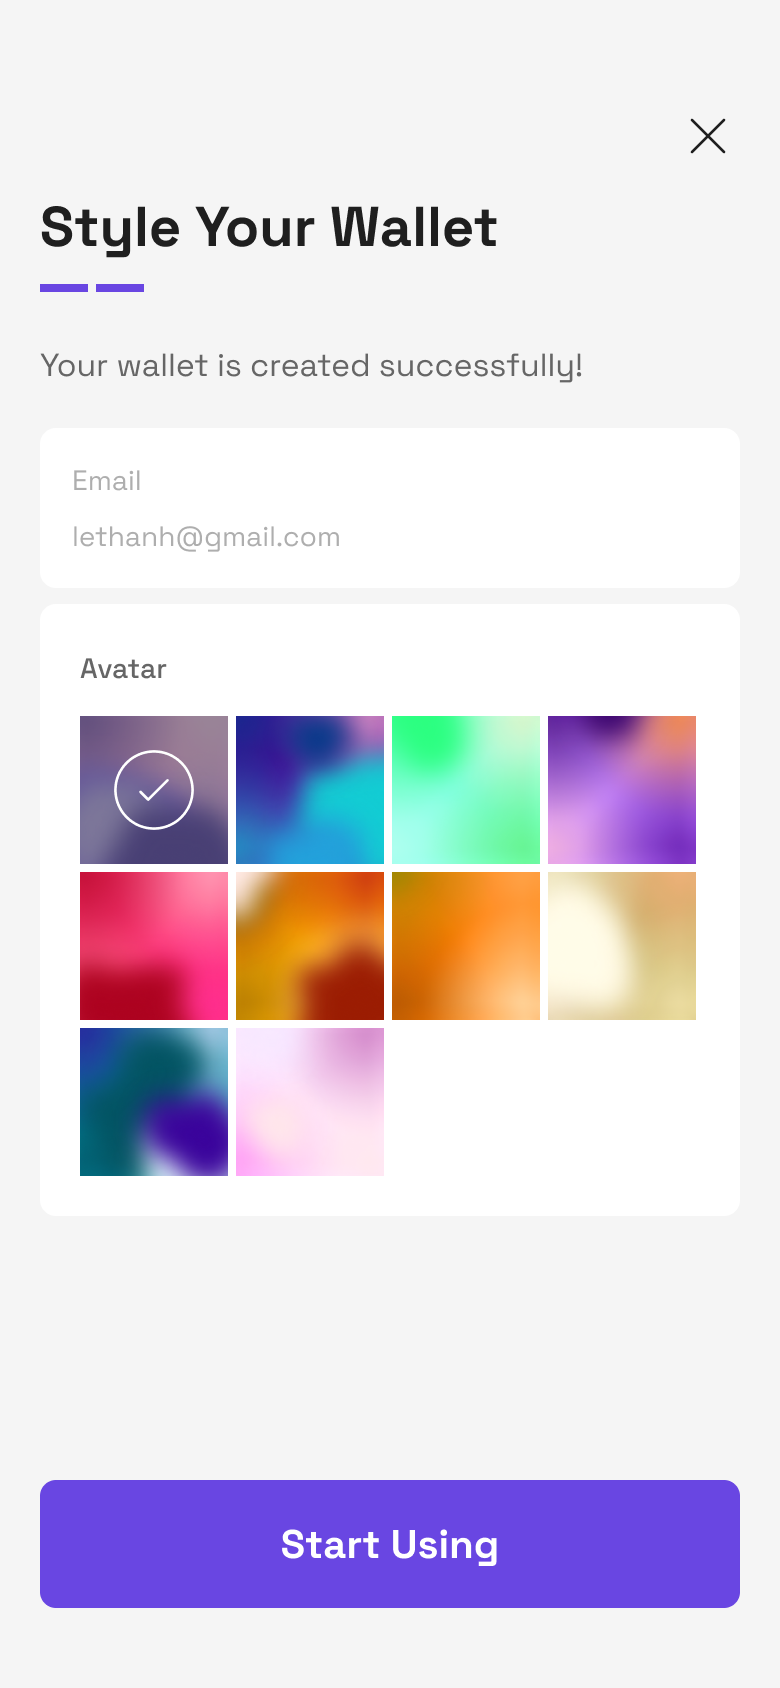
* After successfully logging into your Social account, you can customize your wallet avatar (you **cannot** customize your wallet name)
* Click **Start Using** button to use newly created wallet